macos X11VNCServer
--------------Ubuntu 18.04 桌面共享---------------
Ubuntu18.04 自带桌面共享配置_运维_EthanYYYY的博客-CSDN博客
当然,还有些Ubuntu 18.04版本采用上述方法设置还是无法实现桌面共享。这里以Nvidia Jetson系列嵌入式开发板上安装的Ubuntu18.04桌面系统为例,介绍这类桌面系统配置桌面共享的方法。
Step1: 安装dconf-editor
sudo apt-get install vino dconf-editor
Step2: 配置dconf-editor
dconf write /org/gnome/desktop/remote-access/prompt-enabled false
dconf write /org/gnome/desktop/remote-access/require-encryption false
- 2
Step3: 配置 org.gnome.Vino.gschema.xml
sudo vi /usr/share/glib-2.0/schemas/org.gnome.Vino.gschema.xml
在第二行后,增加如下内容
<key name='enabled' type='b'>
  <summary>Enable remote access to the desktop</summary>
  <description>
    If true, allows remote access to the desktop via the RFB
    protocol. Users on remote machines may then connect to the
    desktop using a VNC viewer.
  </description>
  <default>false</default>
</key>
Step4: 重新编译
sudo glib-compile-schemas /usr/share/glib-2.0/schemas
Step5: 启动服务
方法1:在Ubuntu桌面系统中开启服务
/usr/lib/vino/vino-server
方法2:ssh下进入系统开启远程控制
/usr/lib/vino/vino-server --display=:0
Step6: 使用vnc远程连接
----------------X11VNC-------------------------
How to Setup X11VNC Server on Ubuntu & LinuxMint \u2013 TecAdmin
X11VNC is the popular VNC server for creating remote desktop connection and access the remote desktop. It works will almost all the desktop environments available for Ubuntu and Debian based systems. Using remote desktop connection we can connect any remote system and access graphical user interface and work. We can use any available vnc viewer like the tight vnc viewer, real vnc viewer or ultra vnc viewer.
X11VNC can be a better remote support software for you. This tutorial will help you to set up the x11vnc server on your Ubuntu, LinuxMint & Debian system and connect using vnc viewer from the client system.
Step 1 – Install X11VNC
X11vnc packages are available under default repositories. Open a terminal and run the following commands to update default repositories and install required packages.
sudo apt-get update
sudo apt-get install x11vnc
Step 2 – Create Password
Now create a password to connect using vnc viewer from the client system.
`
Enter VNC password:
Verify password:
Write password to /home/rahul/.vnc/passwd? [y]/n
Password written to: /home/rahul/.vnc/passwd`
Step 3 – Start X11VNC Server
After the successful installation of the x11vnc server on your system. Let’s start it using the following command. Change the parameters as per your setup.
sudo x11vnc -auth guess -forever -loop -noxdamage -repeat -rfbauth /home/rahul/.vnc/passwd -rfbport 5900 -shared
The VNC server will start on default port 5900. In case the port 5900 is busy with some other service, it will automatically select the next available port like 5901.
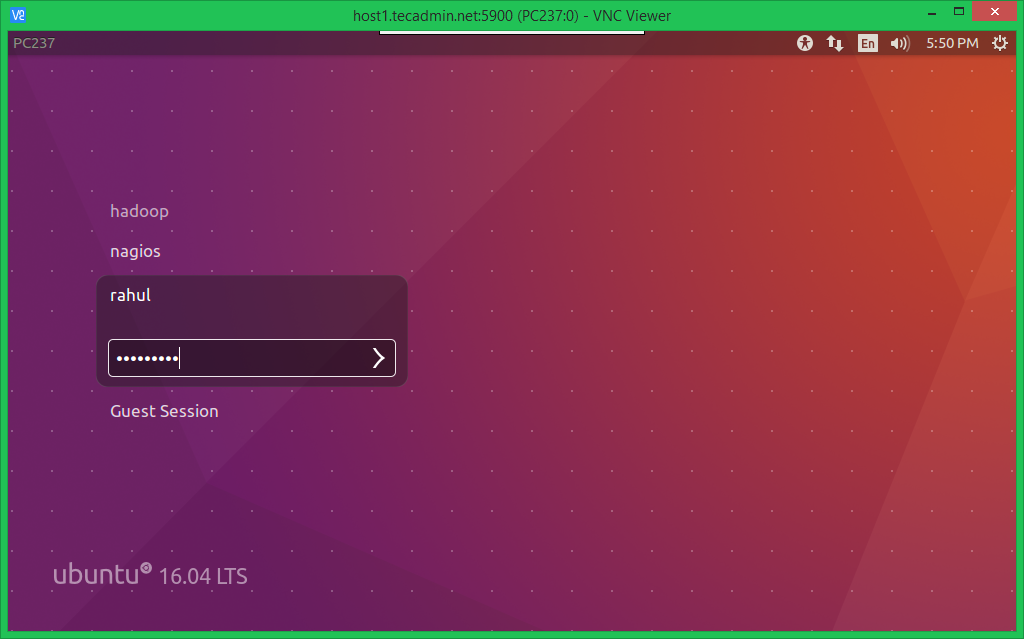
Step 4 – Connect from VNC Clinet
To connect to the server using VNC, you need a VNC client on your system. For this tutorial, I am using RealVNC viewer on our system. You can use any other client of your choice.
Step 5 – Setup AutoStart on Boot
- make file x11vnc.service in /etc/systemd/system :
sudo vi /etc/systemd/system/x11vnc.service
with text (change ubuntu for you name):
[Unit]
Description=x11vnc remote desktop server
After=multi-user.target

[Service]
Type=simple
ExecStart=/usr/bin/x11vnc -auth guess -forever -loop -noxdamage -repeat -rfbauth /home/ubuntu/.vnc/passwd -rfbport 5900 -shared

Restart=on-failure

[Install]
WantedBy=multi-user.target
sudo systemctl daemon-reload
sudo systemctl start x11vnc
sudo systemctl status x11vncif it’s worked
sudo systemctl enable x11vnc.service
Macos Connect x11vnc
Mac 自带了 VNC 客户端,只是路径有点深,
方式1. VNC Client 其路径为 /System/Library/CoreServices/Applications/Screen Sharing.app。
方式2. 使用 spotlight(聚焦搜索) 或 alfred 的搜索 Screen Sharing 即可。
方式3. open vnc://username:password@ipaddress-domain.vncloc
方式4. You can do the same from the Finder:
Go->Connect to Server. Or Command-k.

Type in the same "vnc://192.168.1.30:9001" as above (without the "open" part). You can save connection shortcuts here also.